It has been a bit since my last update but there has been work done on the car! Also, I've been to an auto conference in Las Vegas and then I spent a week in Mexico eating thanksgiving with family. So excuses are done now.
Let's get to a quick catchup on what I've been doing.
SEMA
First a few pictures of some cool car stuff.
Extreme 3-wheeler drifting. I honestly think this would be a fun side project.

Ford GT. I Love this car so much.

Honestly, I can't get enough of the old GT's color scheme.


This was my favorite car here. They took a Charger and basically turned it into a mean rally car.

Not my style but the attention to detail on this paint job was amazing.


Gotta go FAST
Alright, now for some car updates. I've been working on getting FAST installed. Slowly.

Garage dog is watching you work.

First goal was to rip all the old fuel lines out, take the fuel pump out and drop the gas tank.
Why drop the gas tank? I need to plumb in a return line which is required by the new FAST/efi system. In theory, this shouldn't be too hard, right? Well, it is me doing this so of course I will make everything harder than it needs to be.


The goal is to cut it in half, then put in the piece above - it has a nice little 3/8's tube perfect for what I need to do.
Anyway, gotta disconnect all the rubber tubes from the fuel line on the side of the car and the gas tank.


Short lived but this little mallory 110 gph pump served its purpose well.

So now it is time to drop the tank. Easy, right? Just pop the two fuel straps off and it should just drop down.
So......

Guys, it's not going any where.

Is it the panhard bar? (pictured above) Is it the exhaust? Well, we are redoing all of the exhaust so might as well start chopping some exhaust out.
[not pictured, my buddy Graham chopping some exhaust out]

Ugh - STILL not going anywhere. Fine, we will take out the damn panhard bar. Alright, let's break this down in steps.
Removing the gas tank from 1972 Ford LTD Brougham:
- Remove fuel tank straps.
- Try to lower tank.
- Spend 20 minutes screwing with the tank.
- Have your friend cut parts of the exhaust out.
- Repeat step 2.
- Repeat step 3.
- Remove panhard bar.
- Repeat step 2.
- Answer 'less than half full' to your buddy when he asks how full the tank is.
- Get gas everywhere as you and your buddy get the 3/4 full gas tank out.
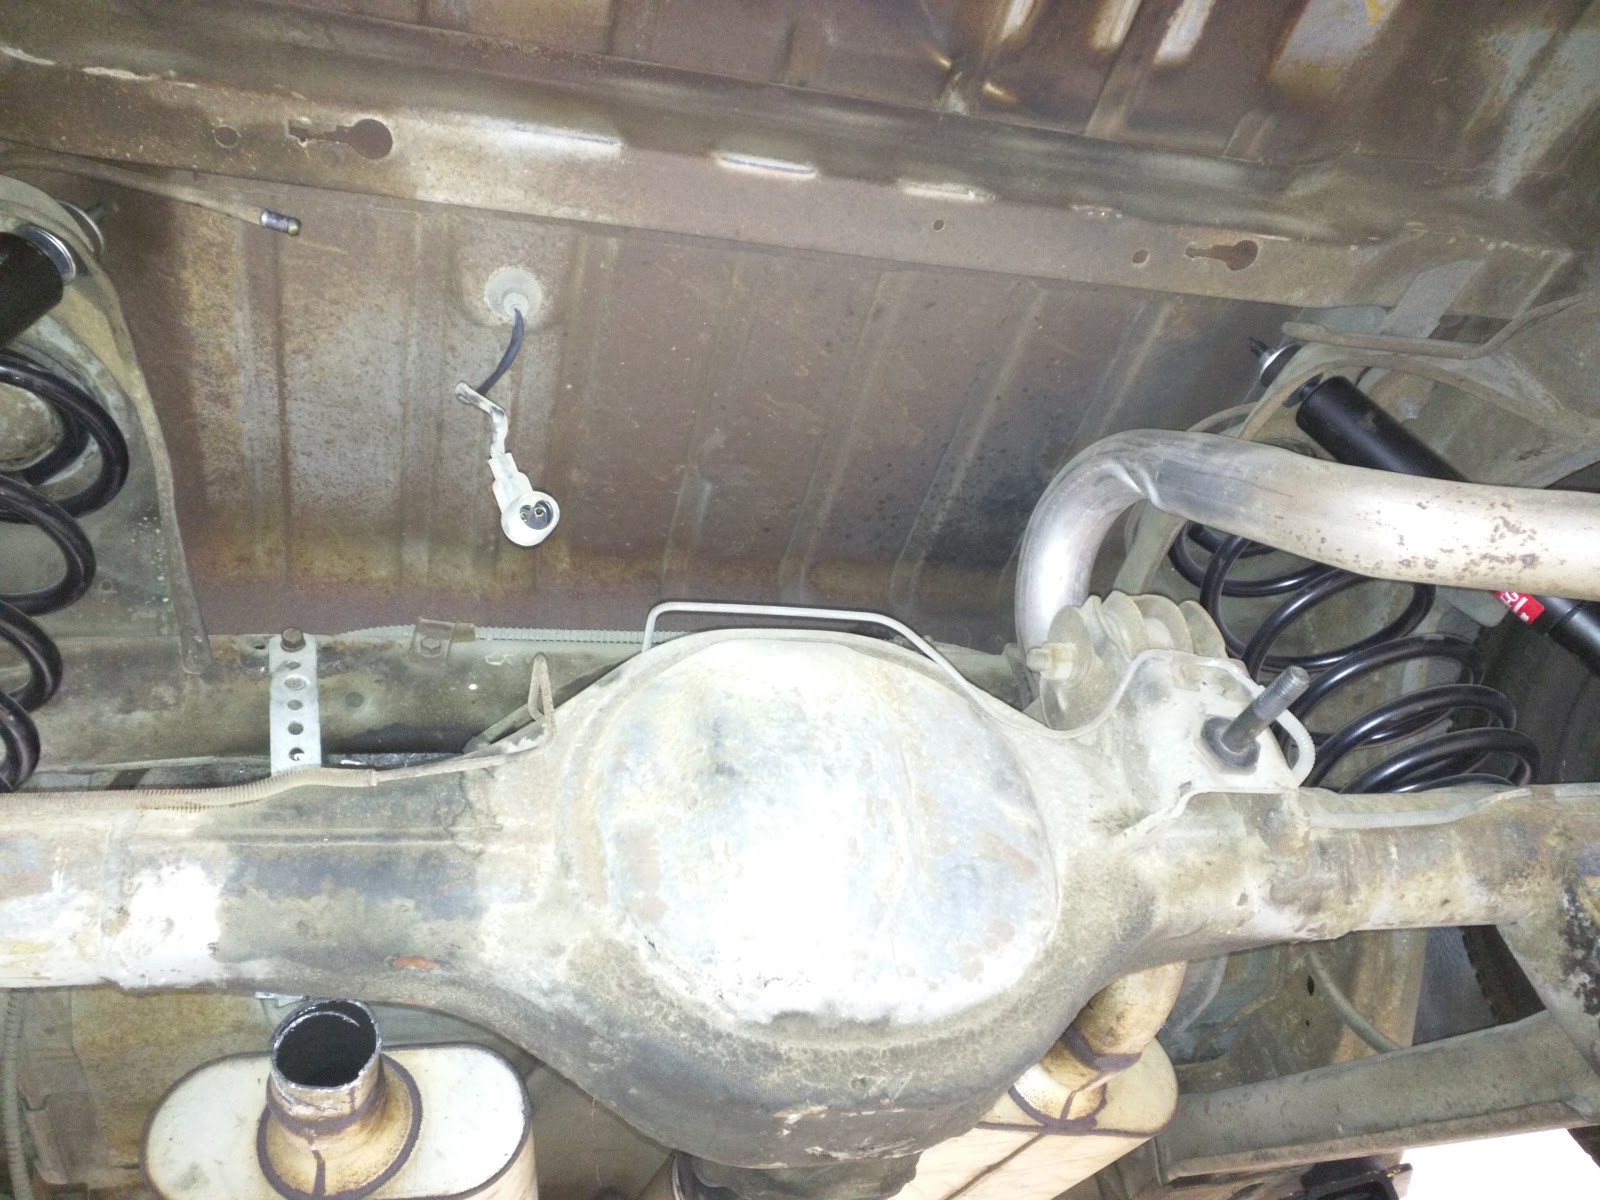


Let's take a look at what this panhard bar is...
So first off, for those wondering to what my rear suspension setup is; According to some research, My car is a 3-link rear suspension WITH a center panhard bar. This means I have two lower rear control arms and one upper control arm. The panhard bar is connected from the frame to the center of the rear end - to prevent lateral motion.


I chose option #2.
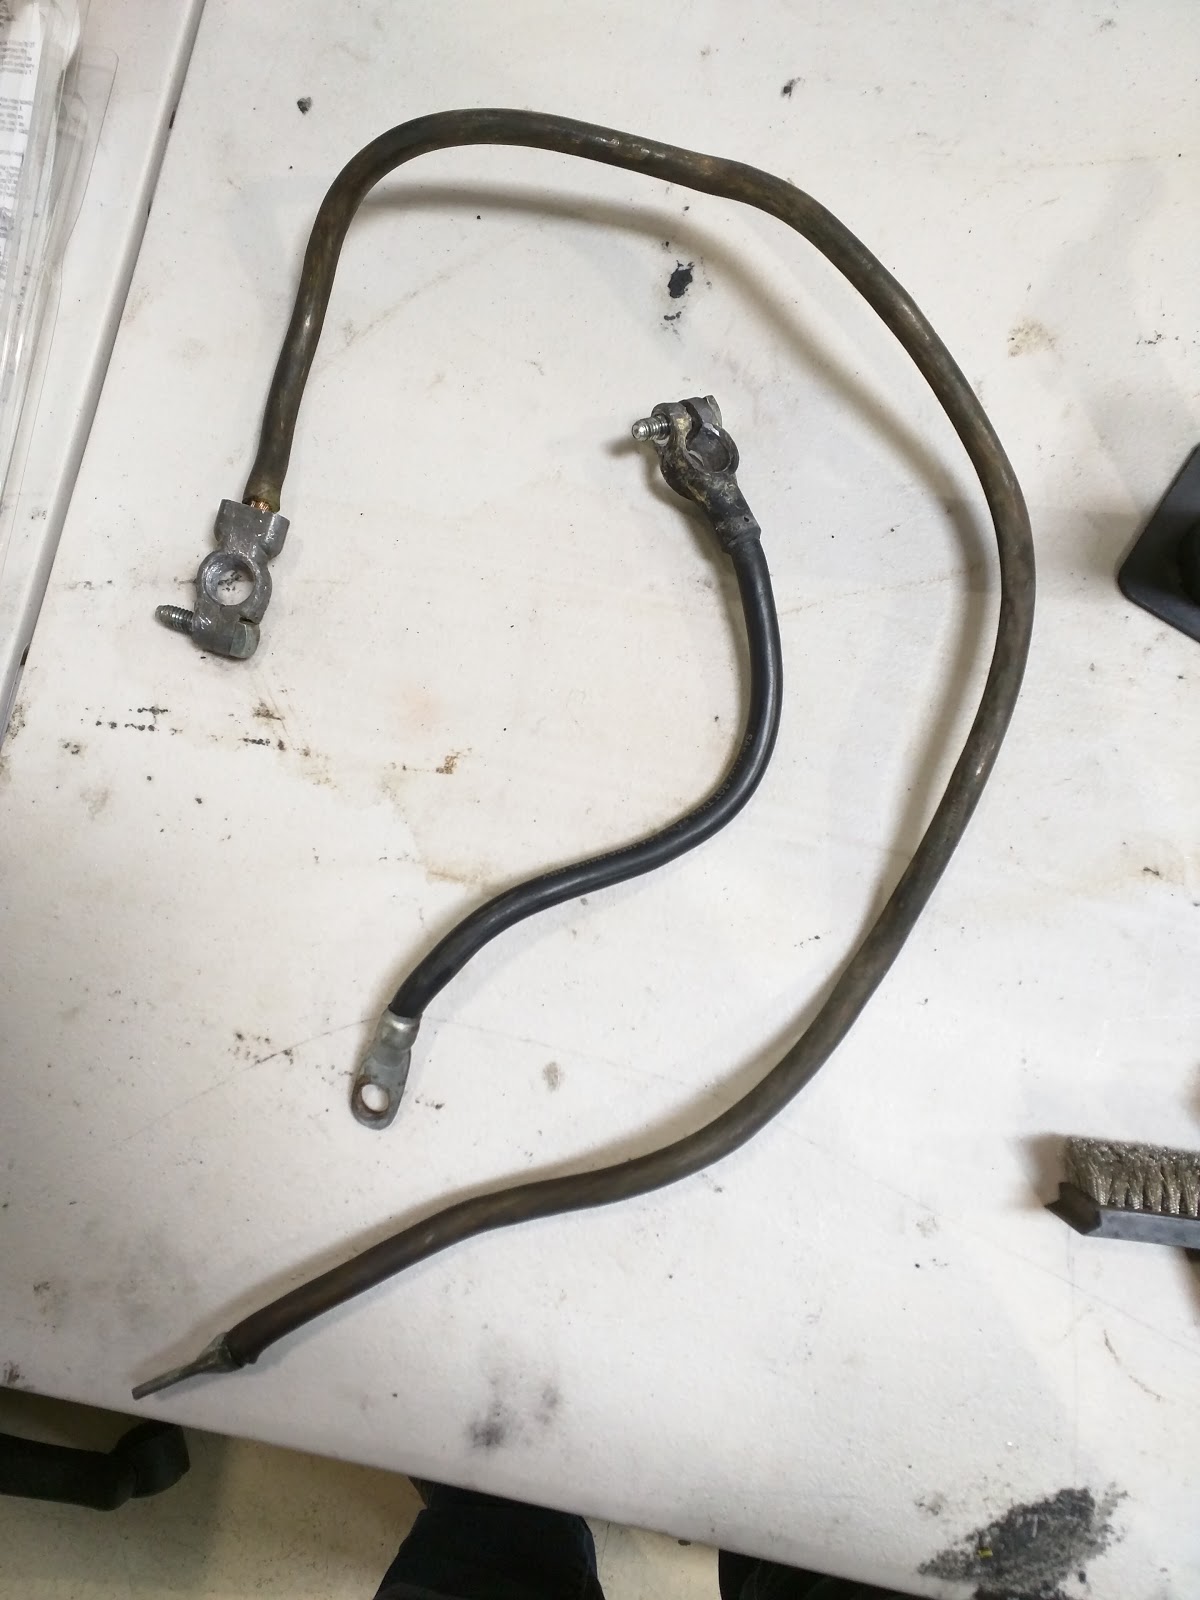
Return Line
While I was here, I decided to run some hardline along the frame for the return line. I got a coil of 3/8's stainless steel.So time to straighten out the coil and do some work.
Difficulty: I don't have a tube straightener tool.
Improvise: Drill a hole through a piece of wood and pull it through.
Results:

NAILED IT GUYS. Sigh...Whatever, it is straight enough.
Also, I wanted to do some flaring just so the when I put the EFI rated rubber hose on, the EFI clamps will have something to catch on to.
After several attempts, I realize how tough flaring stainless style is.


Good enough for now. (Hopefully) I do plan on testing for leaks before any sort of driving or even starting the engine. So well see how all this goes.

Badda bing.
Exhausted
And to make sure I got some work done, might as well get rid of the rest of the exhaust. Again, credit goes to someone else when it comes to metal work; this time Jim at the helm cutting the back end of the exhaust off.

Slowly but surely.
After all that work, it was time for some RnR...

Okay, hopefully next week will produce some good work.
Until then!