STUPID PUN ALERT
It's about a crankshaft. Get it?Get it? Hilarious.

Anyway...two parter again; engine stuff then car stuff.
ENGINE PROGRESS UPDATE ALERT TIME!!!
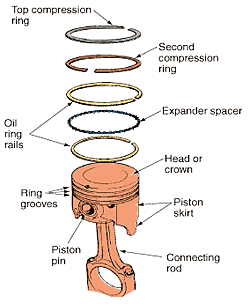
Last time, I had to make sure the piston rings for my KB-138 pistons were properly gapped. Now that was done, it is time to put those puppies in the engine block.

This took a bit since I'm slow and clumsy. You have to use this ring compressor thing to compress the rings and keep your piston from scrapping up the sides of the cylinder as well as banging up the crank down below.
Check out the pictures below for a better idea.


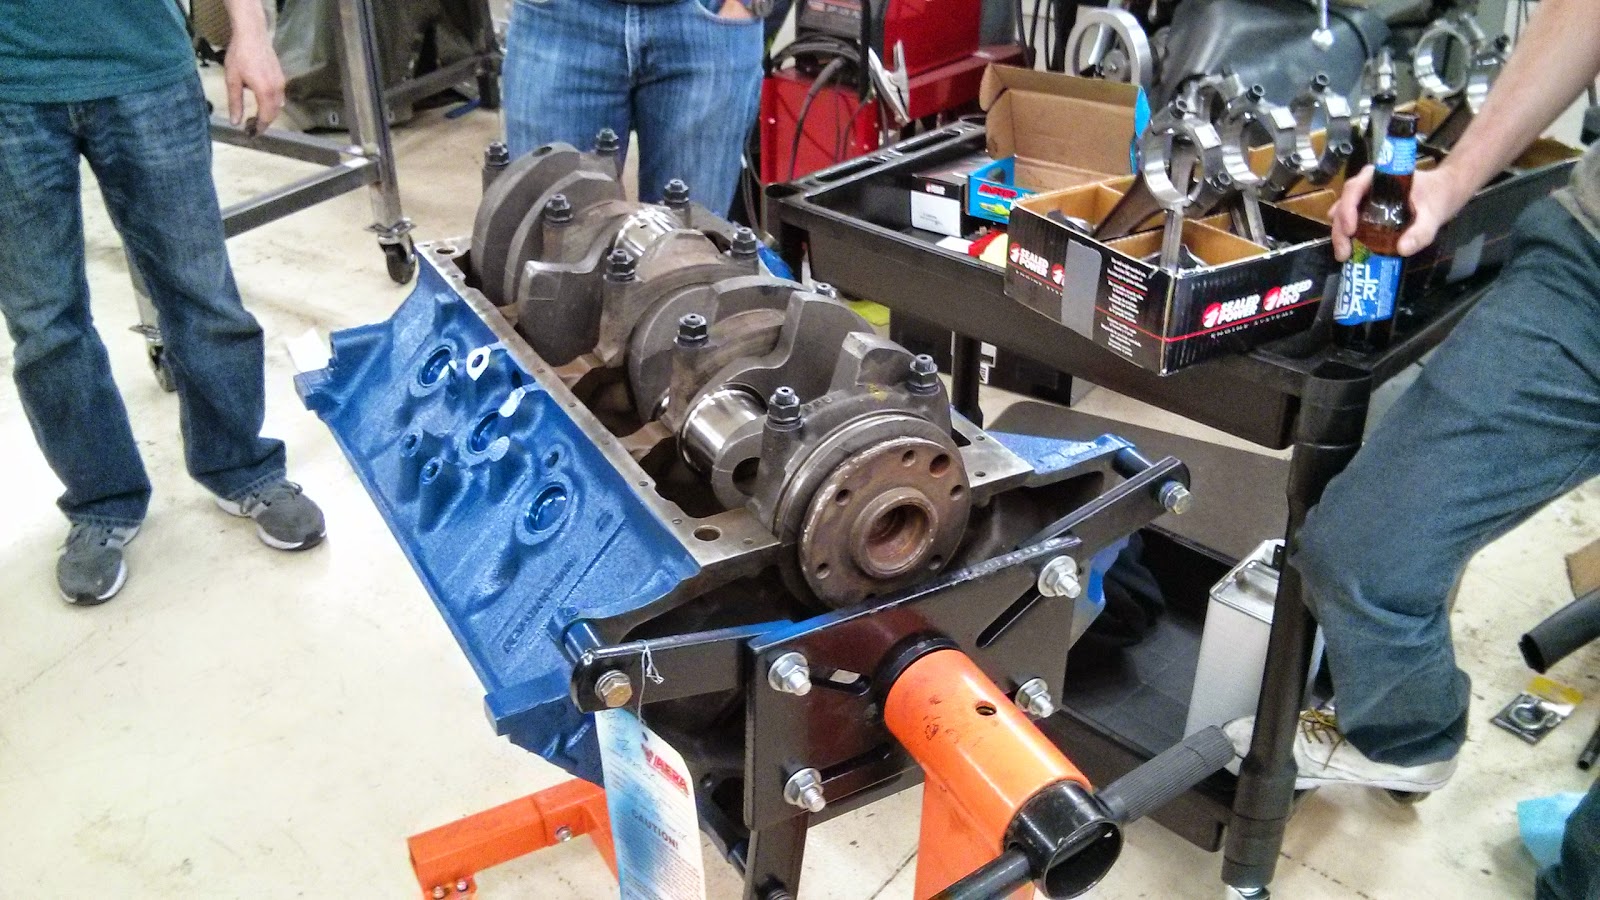
Pictured above: Jacob doing the first cylinder for me. Not pictured, me taking double the time to do the last seven cylinders.


Pictured above: First three pistons in place and locked onto the crankshaft.

Lookin' good!

Then, after they are all on there, gotta check the gap between the pistons and crankshaft journal walls. You have to make sure there are within a specific clearance.


Above: Me measure the gap from the middle instead of from the sides. Oh well, you get the point.
OH NO - After measuring the gaps, all of them were above the stock's allowable "side clearance"!!


After sulking the rest of the day, I hit up the 460ford.com forums for some advice. All the major race engine builders there told me that not only was the clearance I was getting allowable for my type of build but they wouldn't go any less for above-stock builds.
Crisis #2 averted. (#1 was dropping the crankshaft...)
On to the camshaft. Got that thing gooped up completely so it is ready for it's first run.

Got the engine heads and water pump painted.


And finally, Jacob and I got the timing set int place. (Cloyes set)

Crisis #2 averted. (#1 was dropping the crankshaft...)
On to the camshaft. Got that thing gooped up completely so it is ready for it's first run.
Got the engine heads and water pump painted.
And finally, Jacob and I got the timing set int place. (Cloyes set)
ROADBLOCK - Officially crisis #3.
So all was going well....See that bolt in the crankshaft there? Yeah, well that didn't come out so easily. In fact, it didn't come out. Not with the strength of two men. After an immense amount of work - the bolt came out....along with 1/4" of crankshaft threading.


I don't know what to do now. I'm going to call Aims Machine shop tomorrow for some advice. Also, some folks also suggested that if crankshaft has enough threading, to just get a longer grade-8 bolt. Or tap a larger bolt in there....Worst case scenario is that I have to take the crankshaft back out and possibly get a new one. Best case scenario: I just grab another bolt.
So that's that. Let's get back to actual car stuff now.


Yeah, it was done. Oh well, good riddance.
RESEARCH NEEDED:
I tested the new module out and it works great. But in my ignorance, I just now realized a huge difference between the columns.

Ugh. I should have realized. Since my original column is a tilt-shift column and the other one is a no-tilt - the connection to the steering box is a bit different. In the picture above, the one on the left, my original one, has a 'D' like shaft-connection. The one of the right has this plate like thing...
My old one hooks into this thing called a flex coupling. On both sides, it has the ridged clamp that accepts a shaft like connection. The shaft would push right in the center clamp of that.

I imagine the new column shaft end (with that plate like fitting at the end) would attach to the bottom end of that coupling and bolt on. So I imagine I need to order one like the one above (like this one?)
So yeah. That's what I'm going to do. Woo.
So there you have it. Fun stuff.
Until next time (and after more money is tossed at this)!
So that's that. Let's get back to actual car stuff now.
STEERING COLUMN FUN
So last time, I was going to replace the old steering column with this new steering column I got from some dude on the east coast. I was going to do this because the old steering column was wrecked up and the ignition module's "coil"/"on" wire was fried.
I pulled the column finally and checked out that ignition wire...
RESEARCH NEEDED:
I tested the new module out and it works great. But in my ignorance, I just now realized a huge difference between the columns.
Ugh. I should have realized. Since my original column is a tilt-shift column and the other one is a no-tilt - the connection to the steering box is a bit different. In the picture above, the one on the left, my original one, has a 'D' like shaft-connection. The one of the right has this plate like thing...
My old one hooks into this thing called a flex coupling. On both sides, it has the ridged clamp that accepts a shaft like connection. The shaft would push right in the center clamp of that.

So yeah. That's what I'm going to do. Woo.
So there you have it. Fun stuff.
Until next time (and after more money is tossed at this)!