Sunday, March 8, 2015

A man attempted to make his own hard line, YOU WON'T BELIEVE HAPPENED NEXT!

My God, it's full of fuel!

I ditched the boxing analogy for a hilarious click-bait title.  I see these types of things shared on Facebook more than I can count.  For some reason, I refuse to click on those articles out of some stubborn defiance.   Sadly for me, that probably means I won't see: dogs seeing their military owners come home, dancing skeletons, some sort of act of scripted kindness, probably some video with racist contextual overtones and other super fun political stuff.  Darn!!!!

Anyway, A few nights ago, I decided to get all that fuel line bent, connected and fired the beast up.... Fuel squired all across the front of the engine from an unknown origin.  It went EVERYWHERE.


After frantically disconnecting the battery and cleaning up my mess, I discovered that I missed tightening up a fitting.  After spilling more fuel, I found that the AN-to-NPT fitting to the fuel inlet line (the black thing to the silver thing) was ill-fitting and did not create a seal.  So I tightened it further!!  When in doubt, crank it out!

To test this:

  1. Disconnect coil wire (not the lead but just the power feed). This prevents the engine from actually starting.
  2. Turn the key, let it turn over a few times to get some gas pumped into the line.
  3. Observe leak become even worse....
  4. Become super high off of gas fumes. (Just joking...I think)


So after yet ANOTHER run to Summit Racing, I armed myself with a Summit Line kit that feeds directly to the Carburetor.  With nice and fresh threading, not ruined by my touch.  Then connecting to that is an -6AN-to-3/8 NPT fitting.  Interesting to note...it was used. There was gunk in the threading that I cleaned out with a pipe cleaner.  Huh.  Moving on....

Drum roll...and pigeons
After tightening everything up, I turn her over; the leak disappeared and I had solid fuel pressure! Wooooo! Mission Accomplished!
Also, the gas fumes made me chase a pigeon away from my bird feeder, making me look like the crazy bird guy on my block.  I HATE pigeons.  I hate Doves second.  They are basically the upper class of the pigeon world.  I'm pigeonist.   I'll take a kickass scrub-jay any day.  Or a rockin black bird.

Back on track;
So here are a few pictures of the line setup starting from the Carb.

Edelbrock 1411 Carburetor to Summit Fuel Line Inlet
That golden bell like thing is a fuel pressure sender. I had to bend the summit fuel line outwards to get it to fit underneath that carb choke.

From there, 3/8 hard line, bent around to the front of the engine.
That black rigid stuff is some heat shielding to prevent it from touching the block directly.

-6AN inline fuel filter with two -6AN to Tube adapter connecting it from the 3/8 hard line.

Then it wraps around behind the coil and down into the gas pump.  Sheathed in more heat shielding
It connects to the stock gas pump using -6AN to 5/8''-18o-ring.

Another shot from the passenger side.

So in conclusion, here are the parts list for this entire setup:
Fuel Line Setup:
My Specs:


No more degrading rubber.

You may ask why I was so insistent on moving away from rubber.  Look for yourself.  Below is from my previous inline fuel filter setup with a full rubber line coming from the pump.

That black stuff? That's rubber from a brand new O'Reilly Auto's fuel rated hose.  This happened with several rounds of rubber tubing.  


Maybe those mechanics were right when talking about the ethanol in our gas.  Or maybe it could be my leaky exhaust baking the living hell out of anything that will melt within its radius.  Or both!

Into the future

Anyway, next week will probably be centered around the start of the 466 build!  My friend / El Hefe is rad and is letting me post up in his shop/man-cave to build up this engine.  So expect lots of pictures and progress reports coming in regards to that.

Until next week.

Monday, March 2, 2015

In the Ring corner: The Right Pipe Bender

Kink vs. Bend

Gotta admit, I was pretty upset about my crappy bend jobs yesterday.  As careful as I was, every bend would kink just a little bit. After looking at forums, everyone assures me that a good 'bender' won't kink.

So Guess what? Time to spend more money! I went to summit and picked up a summit brand pipe bender.  The results speak for themselves.

Below, Guess which one is a good bend and which one is a bad one?


The top one is the crap one and the bottom one was my first try on the new bender.  Bam. PERFECT.


Picture is at a different angle - bottom pipe is the bad one just in case you couldn't tell.


A quality bender will just flat out work. No, 'fill pipes with sand/sugar to prevent kinks' BS.  Just go spend money on a quality bender and save money later on!

Anyway, I might try doing some bending tomorrow.  If not, it will have to wait until this weekend. And yes, I will half-ass more Boxing analogies in future posts.

Until then!

Sunday, March 1, 2015

Boxing Match: Fuel Line Edition - Round One

Round One: Initial Part and Design - FIGHT!

This week I learned that there is such thing as -AN to Tube fittings using the ol' compression sleeve design.  And since all after market tubing and fuel filters are in AN (reasonable priced anyway), this makes my life a million times easier.  (Thanks Mick).

So, in this corner,in black and silver:
  • 4 -6AN to 3/8 Tube fittings
  • 1 -6AN inline fuel filter
  • 1 90 degree, -6AN to 3/8 NPT (to my stock replacement Fuel pump)
  • 25' of stainless steel, bendable fuel hard line!

Mike comes out swinging!

Fight plan:   90 degree fitting from the pump, tubing that routes around the front of the engine, fuel filter in front of the fan, and then route the tube around to the carb!


First thing to do?  Go to my fuel pump and put that 90 degree fitting in!  It should fit, after all, it's 3/8 in and 3/8 out on that pump....right......right guys???   FRIGGIN-NOPE!

Mike takes a direct hit! 

**$&*%#@*!!!!
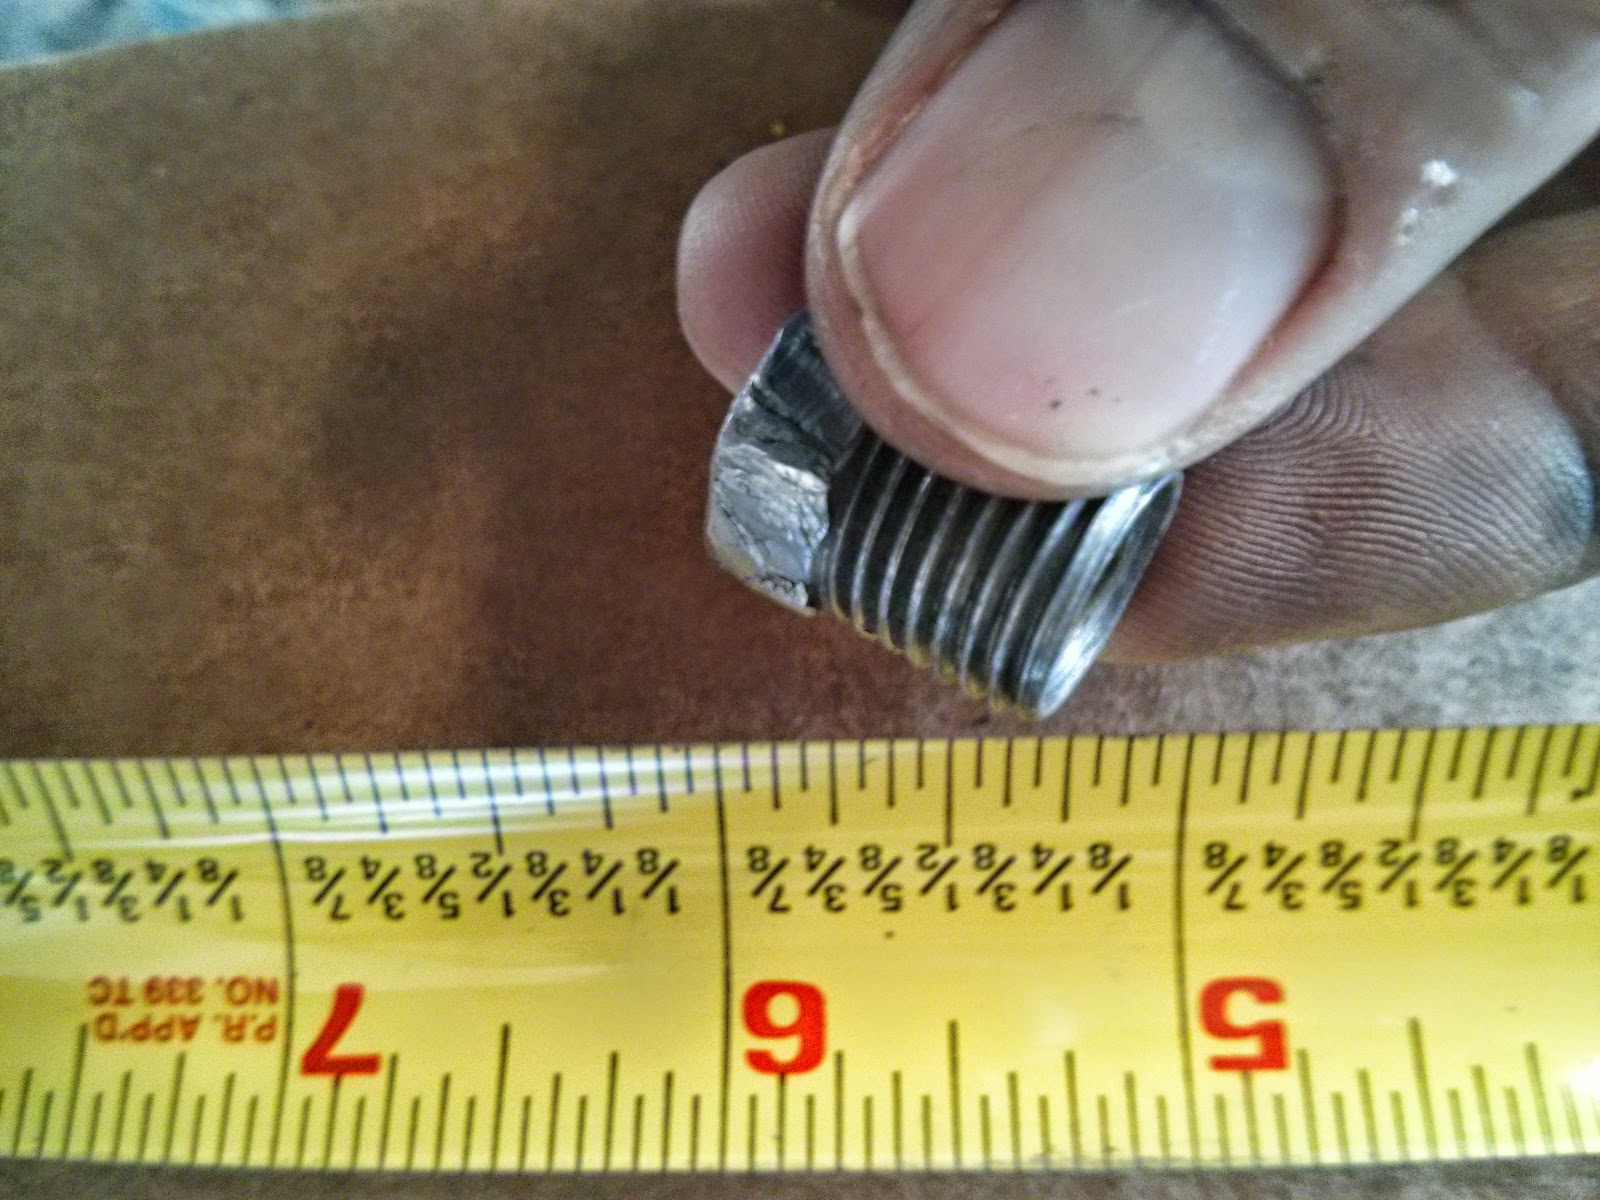
Okay, if I would have searched a bit harder and actually MEASURED the old hard line, here is what is actually coming out of the pump:  It's 3/8 line going IN to the pump.....buuuuuuuuut it is 1/4 line going OUT of the pump.  

(BY THE WAY, I ONLY FOUND THIS OUT BY SOME RANDOM AD ON EBAY *rage*)

To be specific: The line is 1/4 and the fitting is 1/2-20.  So yeah.  I confirmed this by measuring my existing hard line and removing the inverted flare fitting.  Time to go back to Summit armed with this new found information.  *queue 1 hour music, driving and lunch interlude*

Also, These measurements mean nothing to me.  NPT, inverted flare and AN are all magical numbers that are based on either internal diameter, external or the phase of the moon.  Hopefully the Summit guy knows something.

I get to Summit, show the dude the fitting and ask him if I could get a 90 degree fitting to -6AN.   And.........Poof.  He found what I needed...(I think?)

One last thing before I go: Forgetting that NPT size is the diameter of the PIPE, not thread, I order this just to make sure I had EVERYTHING.   *cough*  So Yeah, if anyone needs one of these for a tractor or rocket ship, I got one for you.

Back to the fight!

The fitting is snug and ready to rumble. Rad.  (Insert picture here...)

Okay, so I find out  early on that my pipe bender is janky.  The bender part falls off its axle.  Also, I find out that I suck at bending.  I'm making small kinks here and there.   So, on the ever amazing Internet, I read that if you fill the tubing with sugar and pack it, it helps prevent kinks.   Well, I think it worked...

Mike takes another hit!  

Anyway, I take some coat hanger and bend to it the route I think I want.  Before I start tube stuff, run into another snag;  The carb fitting with my fuel pressure sender doesn't fit in the direction I need it to go.   UGH

It's hard to see up there with my amazing picture taking abilities but what you see is a banjo nut, L-pipe pointing towards the front of my engine with a big, gold bell-like fuel pressure sender at the end.  It is being blocked by my carburetor's electric choke.  I seriously contemplated taking the dang thing off but I got a better, more destructive idea:  I place that L-piece in a vice and slightly bent it outwards.  BAM. It fits perfectly. 

[Insert awesome picture of it fitting here]
(DANG IT, I keep forgetting to take more pictures, I'll get better I swear)

With that solved, time to start bending some tube. 

DING DING DING - End of Round 1.

After bending the first section, I eagerly place the new Tube-to-AN fitting on and tighten it, locking it forever in place on the pipe.   Yes, looks great....except now that I start planning the rest of the bends, I realize that the route I originally planned will NOT work.

So, I redesign  the layout. (click to make bigger!)


Results:

Bruised from a beating to my pride again, I came out armed with more knowledge. (Yay...knowledge...)

I'll flesh this plan out a bit more and try attacking it next weekend.  Of course I'll post the results and try to take more pictures of my progress.

BONUS ROUND:

Everything is ready to be picked up at the machine shop!  Pistons were assembled to the rods, the 46(6) block is ready to be built, and the crankshaft is in great condition!  Time to start working on that as well!

Until next time!

Monday, February 23, 2015

RTFM (non-technical)

Short one here.

GUYS.  One thing I forgot to mention is this car came with some QUALITY manuals.   LOOK AT THIS. Click and enlarge it.  Look at the covers, the grease stains, you can practically smell the history and detail on every aspect of all ford cars.
Friggin Shop Manuals
This isn't your Haynes manual; this is some real-details shit.   What?  What's wrong with Haynes you ask?  I'll tell you.  My luck with every single Haynes manual can be summed up in a few pictures.

Oh sweet, I found my car I think. Hmm...I guess this fits my car, it is within that year span...

Let's say I'm looking for a simple diagram of my specific car:
What I'm looking for....

What Haynes would show:
ARG! WHAT???
Example excerpt from Haynes:
"To remove the fuel pump, remove the two hyper drive bolts.(wait what - that's not even from this year) On earlier models, they will look sort of round and has some edges on it. (yeah - that's describes EVERYTHING).  Use the stock socket size to loosen them up. (WHAT SIZE - WHAT IS STOCK? YOU TELL ME!!)  Oh, before you remove the bolt completely, make sure you do step x from figure 1.B otherwise it will damage the pump. (NOOOOOO!) "

Well these REAL manuals don't play that game.

I mean, check this out:
What you see is a section specially on my engine type.  The 429/460.  This book has a detailed section on all of Ford's engine styles.

And most important of all: IT HAS PICTURES.  ACCURATE PICTURES.  YES.

Kay.  Done with that - update this sunday when I finish making my first ever fuel line.
-Mike  (yeah, I guess I should sign the end?  What's proper blog-form for this?)

Sunday, February 22, 2015

Hardline - From the Pump to the Carb

Question: WHAT FUEL LINE IS STOCK ON MY CAR???

Answer: 3/8 - inside diameter.  I think.  Well, maybe it isn't stock but that is what is on there right now.   I think?   That is what rubber fuel hose I'm currently using...and I think that is what the ghetto hardline that is half way coming out of there now is?

Either way, 3/8 is the hose I need, especially once I drop my soon to be rebuilt 460 in there.

Why am I asking?  

I'm going to run hard/steel fuel line from my "stock" fuel pump to my carburetor.  I want to eliminate ALL rubber from my engine application.   Why?

This:
That's chunks of "brand new" fuel rated hose in my carb's fuel filter.  Also, all the salty mechanics I talk with swear "the ethanol in our fuel is destroying everything, thanks OBAMA".  I have zero idea if there is any truth to that or not.  Nor do I care really, but moving away from failure prone rubber to non-expanding stainless steel seems like a kickass way to go.  Plus it will look good!

Also:

Yeah, so you can see my hardline (which is covered in ugly insulation) goes up the front of my block.  Then it terminates STRAIGHT UP IN THE AIR.  Currently, I only had the spare parts to run the stupid rubber fuel hose OVER my air cleaner so it didn't pinch off at the barb from the hardline.    If it pinches, it means I get no fuel.

Not pictured is the rubber tubing going into a glass filter, then from that going into a fuel pressure sender and finally into my carb underneath that thing.  This sucks, it's ugly and dangerous in my opinion.  Plus, I'm ALREADY SEEING SOME RUBBER DEGRADING ISSUES.  *rage*

GOAL: Bend some hard line straight to the carb.  Yeeeeaaah. 

Rules: NO BRAIDED BLUE RED AN crap.  I hate that look.   Basically something like this:


Hardline from the pump -> to a filter -> hardline to carb.  Bam.  But now to figure out all the connections....ugh, so like, here is what I got so far....


  1. Fuel Pump
  2. (Fuel Pump) 7/16's flare nut into 3/8 hard line
  3. 3/8 hard line to 5/8's flare nut
  4. ??? ??? ???????? (I DONT KNOW)
  5. -8 AN fuel filter
  6. 8 AN to 3/8 npt adapter
  7. (already have this) 3/8 fitting to carb (with fuel pressure sender)

*Sigh*  This is hard.  So.....I'm going to be researching how to make this actually happen then hopefully commit.


-----END TRANSMISSION----


--- EDIT - 2/23 ----
Mickey just told me that there is such thing as tube to an adapters....this changes everything.  Expect an update late Sunday.


Note: As with every post from here on out, I will post my current car status.  It will usually hold my mental dump of all the things I'm currently working on or thinking about.  

Current Car Status:

  • My 460 Rebuild:
    • What: Block is in Machine Shop
      • 460 Block is honed and bored out to .030 and is good to go!!
      • Stock crankshaft was polished and given the thumbs up!!!
    • Status: Awaiting the Kb138 pistons I ordered so they can assemble the rods for me.
  • Wheel Bearings
    • What: I have a shudder at higher speeds, I need to look at that bearing.
    • Status:  Worrying about it.   Pretending it isn't there.
  • Fuel Line:  
    • What: pump to carb. reroute
    • Status: UGH!!

Quick History

Sorry.
This blog will be a bit ugly until I can make time to stylize this myself.  So mind the template, single picture, 'babby's first internet site' look.  I figured if I don't just start doing this now, I will never get around to it.    

So Let me tell you how and why I got this car.

It always starts with Craigslist.


I saw this online and thought to myself; I've always wanted to learn how to actually do things on cars outside of changing brakes and oil...now is the time.  Time to make a trip to Tahoe.

Turns out, my buddy Bryan and I were heading up to there anyway to try some isolation chamber therapy thingy. It's some hippy thing where you lay by yourself, naked, in a dark enclosed tub of body temperature salt like water.  You float and it literally feels like you are floating in mid air.  So after about an hour of this, you start going insane with no stimuli around you.   I think you are supposed to meet your spirit animal but instead, I met the sensation you get when your bladder is about blow a gasket from that giant Gatorade you finished off before you arrived.....

Anyway, I asked him to do me a solid and help me check out that car from the ad.  He's awesome and we make the adventure.  I meet the guy and he let's me drive this thing around.  I fell in love.  It smells like gas, rumbles when you step on it and talks back to you on occasion.  The decision was made. 

So I open my wallet and nothing.  We make a trip to the ATM and the thing has a limit to 800 bucks. So between me and Bryan's two debit cards, we come up with the moneys.  We come back with a fist full of cash, make the trade and then I drive this death trap back home to Reno.

So there you go, quick story on how the beast came to be.  

In the future

In between posts of what I'm currently breaking on this Beast, I'll post pictures/stories of what I've already done to this thing.  They include:
  • Rewiring the engine harness
  • Several failed attempts at crimping my own spark plug wires
  • Duraspark replacement
  • New front and rear suspension
  • Brakes calipers, pads, hoses, master cylinder and even custom made brake lines....
  • Heater Core destruction!
  • Radiator tube explodes and its replacement
  • Rewiring more stuff.
  • Planned engine rebuild, purchased new engine block, heads, headers, cam, etc etc ettc
  • Control arm failure!!!
  • Front suspension part II
  • and more!

Pictures

Here are pictures of the Beast right after it found a new home.  Right before I discovered all the fun gems of taking over someone else's project.
.


Wednesday, February 18, 2015

Prologue


This is 'The Beast'.  She is a 1972 Ford LTD Brougham with a 429 Big Block inside.  I think I am the 3rd owner?   She has a tow hitch.  Her original steering wheel and column are no where to be found.  The coil is powered by the accessory post.  You can start her while she is in 'Drive'.    She has bucket seats.  I have no idea what is original and what isn't.   


This is me.  Until the day I bought this thing in late 2012, the most I've ever done to a car was change the oil.  Now I'm knee deep into my first engine rebuild.

From here on out, I will document my [many] mistakes and triumphs as I rebuild this ugly boat back to its former glory.  Or whatever vision I end up having for it.

I will also be posting flashbacks as to what I've already done to the car, both on purpose and on accident.  Like the blog states; I have no idea what I'm doing, but I'm learning! 

So stay tuned!