Showing posts with label summit. Show all posts

Sunday, March 15, 2015

Something something AND YOU WON'T BELIEVE YOUR EYES AFTERWARDS!

BIG BLOCK TIME

It finally begins....but let's recap.  (scroll down for total engine build specs and plan)
Not pictured: An eagle soaring overhead, squawking in affirmation.

Sunday was uneventful as it was a family day for me.  Spent some good quality time with my future wife's side of the family, ate some delicious food and probably unsuccessfully recharged a car's AC.  The atmosphere is now charged with some refrigerant.  Or my fingers.  Or eyeballs.  I don't know.

That was Sunday.  Friday was the OFFICIAL START OF THE NEW 460 BUILD.  (said in echo-y deep voice)

What has happened so far:

  • 460 short block honed - bored out to 0.030 over.  
    • This means in order to make things smooth like a metal robot baby's butt, they had to extend the diameter of the piston holes.  Which when you do MATH, it makes my engine a 466.  Yeeeeah.
  • Crankshaft polished - great condition.  
    • That means they didn't have to do any voodoo on it. It's ready to go.
  • Piston rods in great condition - had the machine shop add some KB Pistons to those rods as well.
    • This means the little metal arms holding on to those massive piston heads are still strong like hulk and can keep a solid grip.
  • Brought the machine back to the shop.
    • This means Jacob (one of my partners in crime and engine adviser) helped me load my block into the trunk of my FORD TAURUS (SHO) and unload at our base of operations)

Look at this thing - there are 8 of these puppies. Doing dirty things inside that engine block.

Engine Progress this week:
Once you get the block back from the machine shop, you gotta WASH that sh*t.  Meaning, there are particles of metal doom that need to get evicted from your metal home.  It is so they don't ding up the amazing job your machine shop did.
Gorgeous.  This 460 (now 466 after the bore job) is just looking great.  I removed the oil valley plugs, and went to scrubbing with my Moroso engine brush kit.   Meaning you gotta wash where the Sun don't shine to get rid of any hidden stink.


Once the engine was cleaned up, I dried it up and covered it in WD-40 to prevent flush rusting.  By the way, guess what the WD stands for in that?  Water Displacement, 40th formula.   Pretty cool, huh?

That is really all I got done on Friday.  There were....distractions that day that kept me from hard work.  
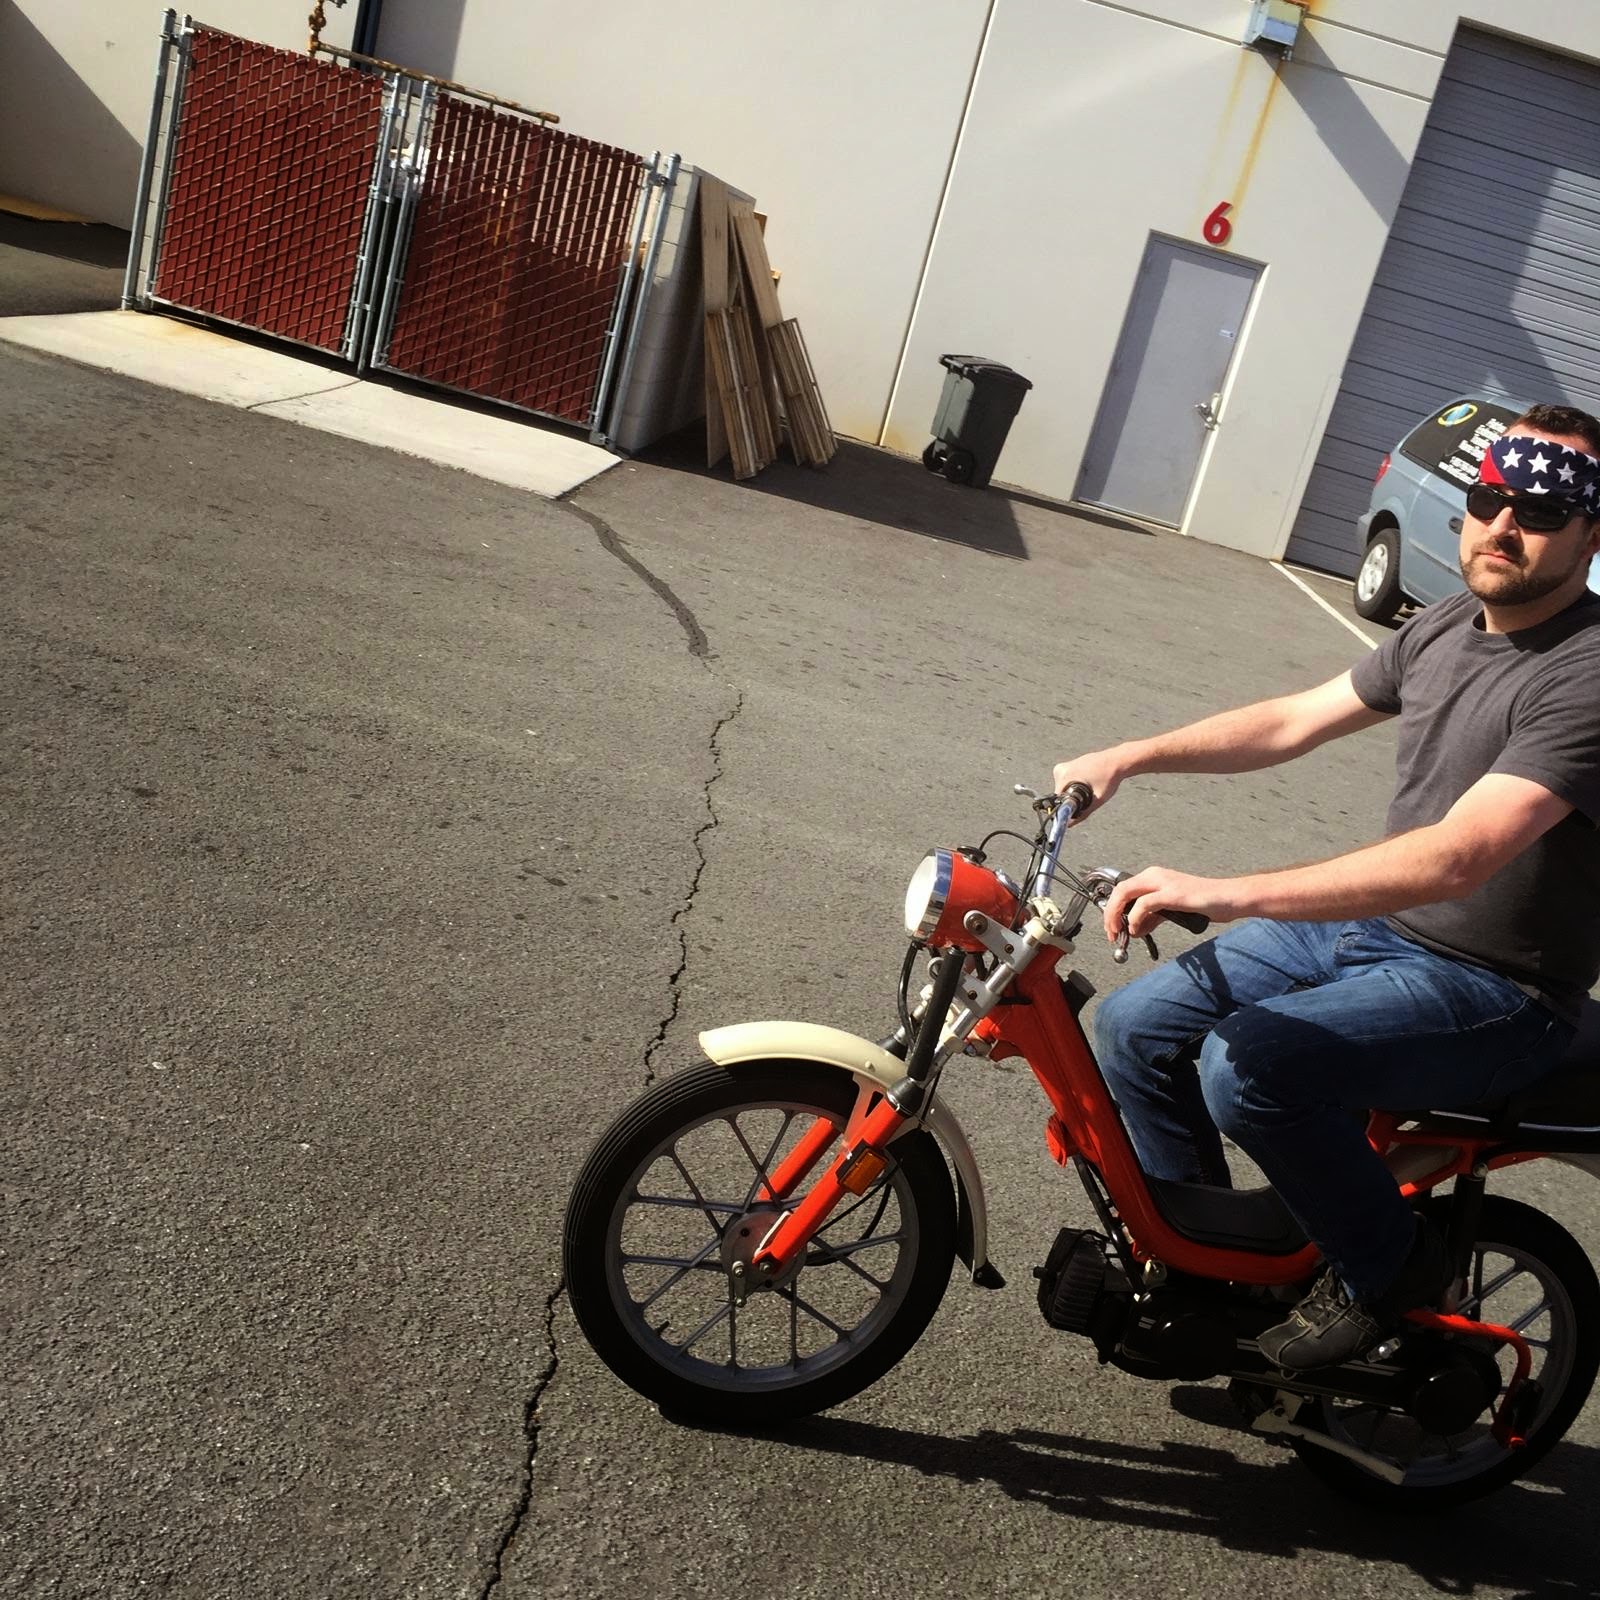
Co-worker and friend, Lea's Vespa.  "No keys - Pedal to start" (read that in wiz khalifa lyrics)


Anyway - the full engine rebuild begins now.  Next week I will attempt rotating assembly installation.  Below is a roll-call of the current parts I own.


Current parts roll-call: (Trigger warning - boring for non-engine people)

  • Heads - D0VE iron heads: 2.08 / 1.65" valves, rocker studs, guide plates, manganese bronze guides, p/c viton guide seals. 305/180 cfm @ .600" valve lift.  Decked .025" for additional static c/r for altitude - ported and assembled by RHP
  • Rocker Arms - PRW 1.73 ratio steel body rocker arms
  • Cam - Voodoo 213/219 / 110 +4 cam and lifter kit (if you want actual specs, let me know)
  • Distributor - completely recurved per above specs!
  • Headers - from FPA (able to get me headers specifically for my full sized Ford)
  • Timing Set - Cloyes - 91122 (9-1122)
  • Timing Cove- (Dorman 635101 (635-101))
  • Water Pump - (Cardone Water Pump)
  • Intake -  Edelbrock Performer RPM 
  • ARP Head Studs
  • ARP Main Studs
  • Fel-Pro Valley Pan/Intake Gasket
  • ARP Intake Bolts
  • Rod Bearings
  • and probably a few other things....
(fun story - my cat hacked up the most disgusting hairball as I was typing this, at my feet.)
Pictured: Dexter the Cat; right before he decided eating hair was a bad idea.

One last thing:

In other news, I re-jetted my carb - I realized I was too rich on my cruise circuit and too lean on my power circuit.  (what does that meeean)

It means when I'm cruising down the road, I'm stuffing whole dinosaurs into my engine and when I step on it, I'm pressing my thumbs into the jugular of my gas line.


So I looked at my handy dandy Edelbrock book and re-jetted according to this:
(find the number 5 - that closest matches my elevation for Reno - with a stage 1 secondary)

I'm hoping to have more updates earlier this week as I plan to do a few things to the car before Friday.  But if not, I'll see you all (by you all, I mean me, the only viewer) on Sunday night.

NOTE: The beer I drank prevented me from a grammar and spelling check tonight. So, Sorry in advance....or I guess if you read this, it is afterwards.  Well I - (gives up explanation and clicks publish button)

Monday, March 2, 2015

In the Ring corner: The Right Pipe Bender

Kink vs. Bend

Gotta admit, I was pretty upset about my crappy bend jobs yesterday.  As careful as I was, every bend would kink just a little bit. After looking at forums, everyone assures me that a good 'bender' won't kink.

So Guess what? Time to spend more money! I went to summit and picked up a summit brand pipe bender.  The results speak for themselves.

Below, Guess which one is a good bend and which one is a bad one?


The top one is the crap one and the bottom one was my first try on the new bender.  Bam. PERFECT.


Picture is at a different angle - bottom pipe is the bad one just in case you couldn't tell.


A quality bender will just flat out work. No, 'fill pipes with sand/sugar to prevent kinks' BS.  Just go spend money on a quality bender and save money later on!

Anyway, I might try doing some bending tomorrow.  If not, it will have to wait until this weekend. And yes, I will half-ass more Boxing analogies in future posts.

Until then!

Sunday, March 1, 2015

Boxing Match: Fuel Line Edition - Round One

Round One: Initial Part and Design - FIGHT!

This week I learned that there is such thing as -AN to Tube fittings using the ol' compression sleeve design.  And since all after market tubing and fuel filters are in AN (reasonable priced anyway), this makes my life a million times easier.  (Thanks Mick).

So, in this corner,in black and silver:
  • 4 -6AN to 3/8 Tube fittings
  • 1 -6AN inline fuel filter
  • 1 90 degree, -6AN to 3/8 NPT (to my stock replacement Fuel pump)
  • 25' of stainless steel, bendable fuel hard line!

Mike comes out swinging!

Fight plan:   90 degree fitting from the pump, tubing that routes around the front of the engine, fuel filter in front of the fan, and then route the tube around to the carb!


First thing to do?  Go to my fuel pump and put that 90 degree fitting in!  It should fit, after all, it's 3/8 in and 3/8 out on that pump....right......right guys???   FRIGGIN-NOPE!

Mike takes a direct hit! 

**$&*%#@*!!!!
Okay, if I would have searched a bit harder and actually MEASURED the old hard line, here is what is actually coming out of the pump:  It's 3/8 line going IN to the pump.....buuuuuuuuut it is 1/4 line going OUT of the pump.  

(BY THE WAY, I ONLY FOUND THIS OUT BY SOME RANDOM AD ON EBAY *rage*)

To be specific: The line is 1/4 and the fitting is 1/2-20.  So yeah.  I confirmed this by measuring my existing hard line and removing the inverted flare fitting.  Time to go back to Summit armed with this new found information.  *queue 1 hour music, driving and lunch interlude*

Also, These measurements mean nothing to me.  NPT, inverted flare and AN are all magical numbers that are based on either internal diameter, external or the phase of the moon.  Hopefully the Summit guy knows something.

I get to Summit, show the dude the fitting and ask him if I could get a 90 degree fitting to -6AN.   And.........Poof.  He found what I needed...(I think?)

One last thing before I go: Forgetting that NPT size is the diameter of the PIPE, not thread, I order this just to make sure I had EVERYTHING.   *cough*  So Yeah, if anyone needs one of these for a tractor or rocket ship, I got one for you.

Back to the fight!

The fitting is snug and ready to rumble. Rad.  (Insert picture here...)

Okay, so I find out  early on that my pipe bender is janky.  The bender part falls off its axle.  Also, I find out that I suck at bending.  I'm making small kinks here and there.   So, on the ever amazing Internet, I read that if you fill the tubing with sugar and pack it, it helps prevent kinks.   Well, I think it worked...

Mike takes another hit!  

Anyway, I take some coat hanger and bend to it the route I think I want.  Before I start tube stuff, run into another snag;  The carb fitting with my fuel pressure sender doesn't fit in the direction I need it to go.   UGH

It's hard to see up there with my amazing picture taking abilities but what you see is a banjo nut, L-pipe pointing towards the front of my engine with a big, gold bell-like fuel pressure sender at the end.  It is being blocked by my carburetor's electric choke.  I seriously contemplated taking the dang thing off but I got a better, more destructive idea:  I place that L-piece in a vice and slightly bent it outwards.  BAM. It fits perfectly. 

[Insert awesome picture of it fitting here]
(DANG IT, I keep forgetting to take more pictures, I'll get better I swear)

With that solved, time to start bending some tube. 

DING DING DING - End of Round 1.

After bending the first section, I eagerly place the new Tube-to-AN fitting on and tighten it, locking it forever in place on the pipe.   Yes, looks great....except now that I start planning the rest of the bends, I realize that the route I originally planned will NOT work.

So, I redesign  the layout. (click to make bigger!)


Results:

Bruised from a beating to my pride again, I came out armed with more knowledge. (Yay...knowledge...)

I'll flesh this plan out a bit more and try attacking it next weekend.  Of course I'll post the results and try to take more pictures of my progress.

BONUS ROUND:

Everything is ready to be picked up at the machine shop!  Pistons were assembled to the rods, the 46(6) block is ready to be built, and the crankshaft is in great condition!  Time to start working on that as well!

Until next time!